How To Delete All Of Your iPhone Photos
As many of you likely know, deleting a single photo on the iPhone is quite easy. All you have to do is go to the Photos app, tap the photo you want to delete, and hit the trash icon. Unfortunately, there is no Select All button for deleting photos from your camera roll. However, a feature in iOS makes deleting photos in bulk almost as easy.
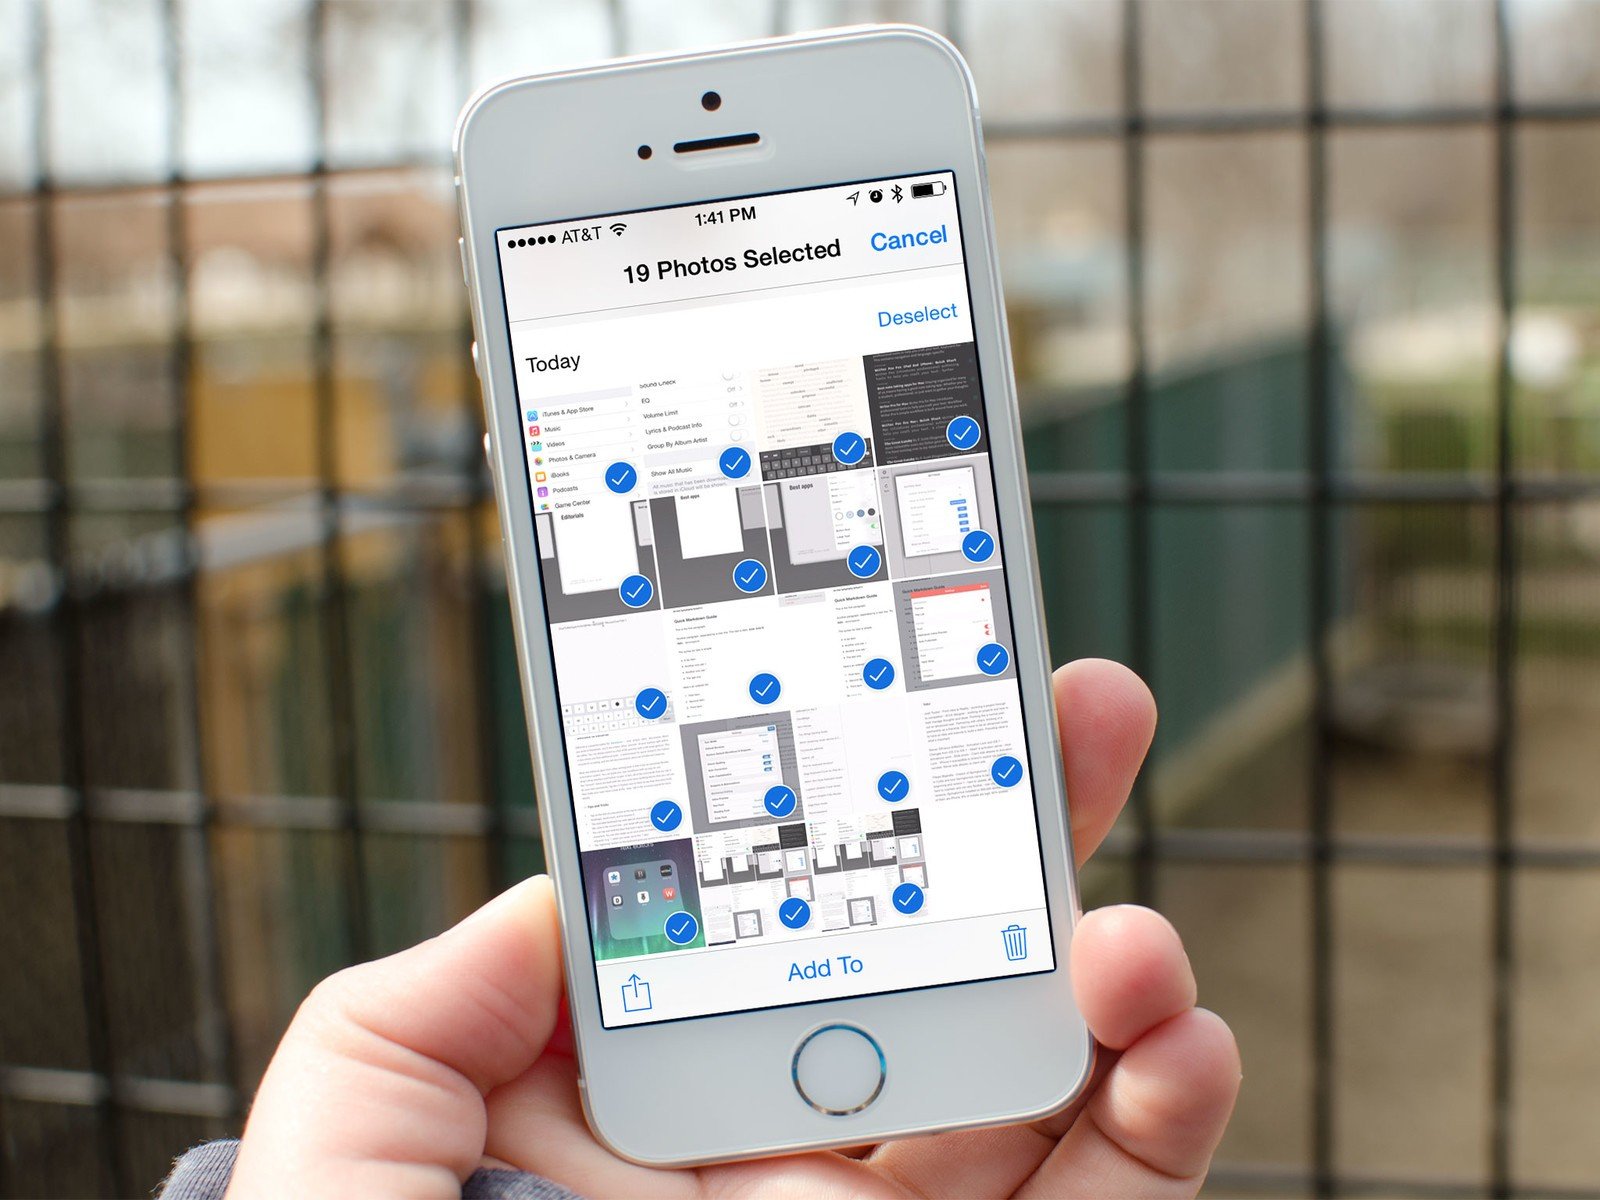
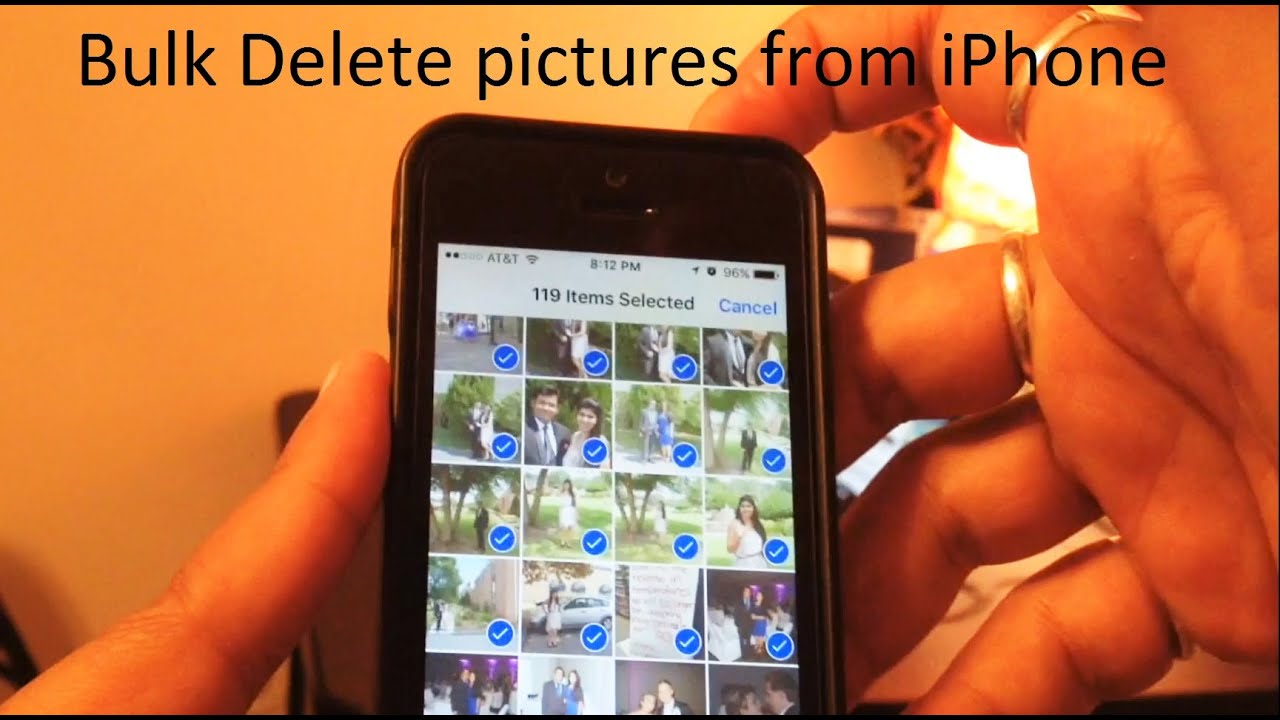
Instead of going through your list of photos and tapping on every photo to mark it for deletion, you can now tap a single photo and then drag your finger over other photos to make selecting multiple photos easier to delete. You can even select whole rows of photos to delete by dragging across the row and then going up or down to delete multiple photos.
To quickly and easily select all of your photos, touch the bottom-right photo, and without lifting your finger, drag your finger to the top left of your screen. Your photos should automatically start scrolling, selecting all of them as you go. All you have to do is wait until you get to the top of your photos, then press the trash can icon to delete them. This makes it extremely easy to delete all or nearly all of your photos in only a few seconds!
Delete All iPhone Photos With Photos On The Mac
You could also use the Photos app on the Mac to delete images from an iPhone. It isn’t as fast as using Image Capture but you’ll have the ability to recover the images more easily should you accidentally delete them.
Again, this won’t work if you are using iCloud Photos but if you aren’t it should allow you to delete the photos.
If you are using iCloud Photos, one benefit of using Photos is that you can create a smart album. You could create a smart album for all photos before today’s date.
Sign Out Of Icloud To Delete Photos From iPhone But Not Icloud Photo Library
Signing out of iCloud is also a feasible way to remove photos from iPhone but not iCloud. By signing out of iCloud, you’ll disable the connection between your phone and iCloud thereby blocking synchronization of your data. This will ensure that your photos remain intact in your account even when they are deleted on the phone.
Now let’s see how to delete photos from iPhone but keep on iCloud by signing out of iCloud:
Step 1. Unlock your iPhone and open “Settings”. Then tap on your name to enter next section.
Step 2. Select “Sign Out” which should be located towards the bottom of the page.
Step 3. A pop-up window may appear asking if you truly want to sign out. Confirm this action then proceed to switch off “Find My iPhone” if required.
Step 4. After signing out, you can go to “Photos” App to move your unwanted images to trash bin.
You may want to know:
Read Also: How To Use Airdrop On iPhone Xr
Best Way To Selectively Delete Synced Photos On iPhone/ipad
Using iTunes to clear synced photos on iPhone is limited, for it only supports to delete all photos on your iPhone, not only the synced pictures but also the new photos that have not synced with iTunes. And you have no right to leave the wanted images and choose the unwanted pictures to clean. So it is highly recommended a great cleaning tool – iPhone Synced Photo Cleaner for you.
Learn More about iPhone Synced Photo Cleaner:
With this iPhone Synced Photo Cleaner, you are enabled to delete synced photos on iPhone, iPad or iPod with ease. What’s more, you can preview and choose the unwanted photos to delete and remain the favorite photos before the cleaning process. Apart from synced photos, you can also manage or erase the other private files, such as contacts, messages, call history, photos, Safari history and etc. And it works well with all generations of iOS device, including iPhone X/8 Plus/8/7 Plus/7/6s Plus/6s/6 Plus/6/5S/SE, iPad Pro, the new iPad, iPad Air, iPad 2, iPad mini, iPod touch and etc.
Below are the free trial of the program in Mac and Windows version, please download the right version on your computer and start to delete synced photos on iPhone right now.
Here is how to delete synced photos from iPhone selectively:
Step 1. Launch the iPhone Synced Photo Cleaner and connect your iPhone to computer with a USB cable. Then the program will detect your device automatically.
Related Articles:
Keep Your Photos Without Taking Up Space

Typically, people dont delete photos from their iPhones because they dont want or need them anymore. Usually, its just because they just dont have the capacity on their phone to hold it all and their photo library has become a bit of a mess. But running low on space shouldnt mean having to part ways with your precious memories, which is why making the most of cloud storage is the ideal solution.
When you save all your photos on Dropbox, theyre secure in the cloud in original quality, and you can access them from any device that has internet connection. You can keep your photos with you on the go while still saving a lot of space on your iPhone.
You May Like: How To Play Aae Files On Windows 10
How To Bulk Delete Media Types
Your iPhones Photos app automatically categorizes images into media types such as Selfies, Live Photos, Screenshots, etc. That lets you focus your efforts on specific types of images. For example, bulk deleting screenshots can drastically cut down clutter and bring order to a photo library.
1. Open the Photos app and select Albums. Then, scroll down to the Media Types section and pick a media typee.g., Screenshots.
2. Tap the Select button and swipe across the thumbnails to pick the items you want to delete. You can also tap Select All to choose every photo quickly.
3. Tap Delete Photos to remove them from your iPhone.
How To Clean Up Photos On iPhone: The 5 Best Photo Deleting Apps
These apps make it easy to delete duplicate or poor-quality photos on your iPhone to save space and reduce clutter.
If you’re snap-happy, organizing your iPhone’s camera roll can become tedious. A few tasks are especially irritating. Chores like comparing similar photos to select the best of the bunch, deleting useless screenshots, and weeding out poorly taken photos are time-consuming and irritating.
Why not let a smart app make these chores quick and easy for you? Free up some phone and mental storage by picking an iPhone photo decluttering app from the list below.
You May Like: How To Delete Apps On iPhone That Are Hidden
Use File Explorer On Windows
If you have a PC, the process is straight-forward. Connect your iPhone to your computer and approve any trust requests. Open File Explorer and select your iPhone from the list of devices connected to your PC. Double-click the device icon, then open the DCIM folder. Press Ctrl+A to select all folders, and then move them all to the trash can or press Delete on your keyboard.
Confirm your decision when asked, and then a few seconds or minutes later your photos will be removed from your iPhone.
Delete All iPhone Photos With Google Photos
Google Photos is another option. It provides unlimited photo and video backup via a smart compression technique you won’t notice any drop in quality, but the photos are compressed.
Recommended Reading: How To Remove Mail Account From iPhone
Why Is My iPhone Storage Still Full After Deleting Photos
Even though youre moving everything to the trash in Gemini Photos, those files are saved in your Recently Deleted album for 30 days. Which is great if you accidentally delete a picture, but theyre all still taking up space on your phone. So, if youre ready to permanently delete them and free up that storage, heres how you do it:
How To Recover Deleted Videos & Pictures From iPhone
If you accidentally deleted a photo you meant to keep, fear not! iCloud saves any images you deleted over the last 30 days in the Recently Deleted album of your Photos app. You can use Recently Deleted to restore deleted photos or empty Recently Deleted to permanently delete photos. Heres how to find deleted photos on an iPhone in the Recently Deleted album so you can restore them.
Don’t Miss: How To Turn Off Siri App Suggestions
How To Clear Space On Your iPhone Without Deleting Photos
As an iPhone user, theres nothing worse than the dreaded Storage Almost Full notification that pops up on your phone at the most inconvenient time.
It usually appears when youre in the middle of recording a video or when youre trying to snap a quick photo: Cannot Take Photo: There is not enough available storage to take a photo.
And while many people are quick to delete their precious memories on the spot — without spending the time to back up their Camera Rolls, theres an easier way.
Here are 7 tips to save space without deleting a single photo from your Camera Roll:
Delete All iPhone Photos From The Mac

You can also delete photos from your iPhone using a Mac. Here are the steps to do it:
Connect your iPhone to a Mac and confirm you trust the device.
Go to Finder > Applications > Image Capture.
Select your iPhone in the Devices menu of Image Capture.
Select all photos using Command + A.
Read the popup confirmation message and confirm deletion.
If you are trying to figure out how to delete all photos on your iPhone at once, deleting them with Image Capture through your Mac as described might be one of the more efficient solutions.
Should you be looking to just free up some space on your iPhone, you might not want to delete all photos right away. Gemini can help you identify duplicate and even similar photos that you can choose to keep or delete to make room for more. Just find the app in App Store and trim down your photo collection in a jiffy. Whats even better you can also get the desktop version of Gemini to help spot and remove duplicates on your Mac.
Now that youve figured out how to remove photos from your iPhone, consider cleaning up your Mac as well. CleanMyMac X will help you identify and remove junk, cache, unneeded files, and uninstall rarely used apps and extensions.
Also Check: How To Connect Videos Together On iPhone
How To Remove The iPhone Photo Library
Whether you have taken some photos of discontinued products or no longer need those promotional shots from last years advertising campaign, it helps to know how to remove photos from your iPhone’s photo library. Although a one-click method for removing the library isnt available, you can delete all of your photos quickly and easily. Photos can be removed via iTunes or directly from the iPhone.
Deleting All Photos From iPhone
A huge amount of space on our phones tends to be taken up by photos.
Its easy to forget to sort through your iPhone photos and regularly remove duplicates, screenshots, or just any unwanted images. This can lead to a lot of storage space being eaten up unnecessarily, and a lot of clutter that makes it hard to navigate your ever-growing gallery. Next thing you know, you get the dreaded notification that your iPhone is almost out of space.
Because its so convenient to be able to access your photos on your phone whenever and wherever you like, deleting them may not seem like the ideal solution. Luckily, there are ways to keep your photos accessible on your iPhone without having to sacrifice space, thanks to cloud storage.
Below, well outline the best ways to delete photos from iPhone devices before exploring ways to back up your iPhone photos on the cloud.
You May Like: How To Turn Itunes Song Into Ringtone
How To Bulk Delete iPhone Photos Using A Pc
If you have a PC instead of a Mac, you still have a couple of fast options to bulk delete images from the iPhone.
Use iCloud for Windows
If you use iCloud Photos, you probably have iCloud for Windows set up on your PC. Simply select iCloud Photos on the File Explorer sidebar and choose the photos you dont want by dragging the cursor over the thumbnails or clicking while holding down Control. Then, right-click any highlighted item and select Delete.
Use File Explorer
If you dont use iCloud Photos, you can bulk delete iPhone photos directly using File Explorer. Connect your iPhone over USB and select Apple iPhone> Internal Storage > DCIM in File Explorer. Then, select the relevant folder and remove the photos you dont want.
You can always choose to create a backup of your images by first copying them elsewhere on your PC.
Using A Computer To Delete Photos
Mac users can avail themselves of the Image Capture application to delete photos from their iPhone.
Connect your iPhone and make sure it trusts your Mac. You will see all of your iPhones photos in image capture and you can select as many as you would like to delete.
Windows users can also access their iPhones photos by attaching the device to their computer and making sure that the phone trusts the machine.
Then, simply use Windows Explorer to navigate to your iPhones DCIM photo folder. Select the pictures that you want to remove and delete them with the Shift + Del keystroke combination.
Also Check: How To Play Pool On Game Pigeon
Tip: Backup Photos Before Deleting
Just like with throwing out physical trash, with digital waste theres always a chance you swiped something that you actually need. When you are deleting any files, make sure you went through all of them and created backups.
Deleting your images can be much less stressful if you have a backup just in case you accidentally delete something you need. And once youve made all the deletions and looked through the remaining files, as well as the trash, and are sure nothing you need was removed, you can wipe your backup, if you want to.
While you can backup your phone to iCloud, there are additional solutions that might be more suited to your priorities. You can use AnyTrans for iOS to backup your devices, migrate your data between phones, and make sure everything you value and need stays secure.
Sign Into Your iPhone With Another New Icloud Account
Another practical method is to sign in to your iPhone with a new iCloud account. After uploading your iPhone photos to iCloud that signed in with your old Apple ID, sign out this account and sign in with a new Apple ID.
Then you can delete all photos from your iPhone without losing them from your previous iCloud. And you can still access the deleted photos from your other devices by signing in with your old Apple ID.
You May Like: How To Delete Siri Suggestions
Clear Other Storage On iPhone
When youre checking out how much storage youve used on your iPhone, you might notice a gray section labeled Other. This generic category acts as a catch-all for miscellaneous files that dont fall within a standard grouping. These include your Safari cache, Message attachments, or downloaded content from various streaming apps.
How To Clear Deleted / Hidden Photos From iPhone

Erase iPhone
10938 views , 2 min read
With social media â Snapchat, Twitter, Instagram â taking photos have become mainstream. However, out of a hundred pictures, a high percentage turns out not so cool and hence deleted. But where do these files go?
A while ago, Apple started a âRecently Deleted Folderâ where deleted pictures are stored for a while. The essence is to serve as a form of Recycle Bin where users can get back pictures that were mistakenly deleted. Additionally, these pictures are kept for 30 days before they are deleted from the âRecently Deleted Folderâ.
Don’t Miss: How To View Favorites On iPhone
How To Selectively Transfer Photos From iPhone To Computer Without Itunes
If there is something wrong with your iTunes, then you cannot transfer files from iPhone to your computer or laptop with it. However, there’s also the option of using third-party tool to help you remove photos to your computer.
Tenorshare iCareFone is the most outstanding iOS file transfer among many offerings out there which provides a comprehensive way of transferring your files from iPhone to computer . It helps remove photos from iPhone camera roll in bulk and even the photos in photo library can be deleted. Here’s how:
To get started, please download and install Tenorshare iCareFone to your computer.
- Step 1: Connect your device to the computer via a USB cable. Launch the program and hit “File Manager” to use this function.
- Step 2: Click on “Photos” from 9 types of file listed in the interface to move on.
- Step 3: To export files on your iPhone to computer, check target photos or simply tick “Select All”, and then click “Export to” on the menu. By default, the files will be saved in a folder on your hard disk. You can feel free to set the location of the folder that saves the exported files.